Friday, July 15, 2011

Chinese Green Beans

Hey Everyone. I have been really slow at posting recipes. Anyways, my summer classes are almost over, and I can almost enjoy my summer vacation. I have one more week left, then I can officially start posting 2 recipes a week, since I am behind.
The weather has been crazy this year, and I don't like it. For one week, it feels like an oven, and then the next, it feels like fall or winter. It's so crazy. It's been a bit cold here in the morning, and it usually isn't, especially during the summer time. 
So, I decided to post something more healthy for this weeks recipe. Yummy green beans. I love green beans. They're so yummy, especially if they are cooked the way I like them cooked. I watched my mom cook this so many times, and that's how I learned to cook these. Enjoy.

Just to let you guys know, there are usually no exact measurements when it comes to asian cooking, so you will just have to eye it. 

Ingredients
The preserved black beans
  • green beans (as much as you want, we asians always eye it)
  • minced garlic (from 1 or 2 garlic cloves)
  • dried preserved black beans with ginger (there is a picture)
  • soy sauce (optional, we sometimes use it, sometimes not)
  • sugar
  • salt
  • oil ( to fry with)
  • water
Directions
  1.  Place the dried black beans in a bowl and fill it with water. Then, drain the water.
  2. The first thing you are to do is to drizzle oil on the wok, and add the garlic and the dried black beans. Saute it or cook it for  a minute or two. 
  3. Add the green beans, and then add water until the green beans are just covered with water. Cover the wok, and let it cook for about 5 minutes. check on it once in a while and if there is too little water, add more water. You do not want to dry it out until the beans are all the way cooked.
  4. If you wish, you may add some soy sauce to the beans (I sometimes and sometimes don't add it). 
  5. Season it with sugar and salt (I usually just randomly sprinkle it on until it looks right. No exact measurements). 
  6. Enjoy. 

Wednesday, July 6, 2011

碱水粽 recipe

Hey, you guys! So, I finally asked my mom what the recipe is for the 碱水粽 (we have been very busy and I kept forgetting to ask) . I probably won't post a picture of this, because you guys have already seen a previous post of this. Then again...you guys might be too lazy to search for it. I'll post the picture right here. 

 The small ones you see in the left top corner are the 碱水粽 . They are smaller than the regular ones with peanuts, pork and those other fillings. The 碱水粽  has red bean in them, instead of the meaty filling. These 碱水粽  are more dessert like. They are really yummy. :) The only thing is that, there are really no exact measurement for the ingredients (the Asian way of doing things). I can only tell you the approximate amount. So, here's the recipe. 

Ingredients
  • around 3 and half cups Glutinous Rice
  • around 3 spoonfuls of sodium bi-carbonate (will be explained in directions)
  • 粽叶
  • 1 can red bean paste
  • sugar (optional) 
Directions:

  1. Prepare the leaves like how it was prepared for the other recipe
  2. In a huge bowl, put the rice in. Then, gradually add the sodium bi-carbonate until the rice has changed color (it should be some sort of yellow color). 
  3. Then, add the rice into the leaves that you have shaped like from the other recipe, and then you add red bean paste as the filling. You can add as much (or little) as you want. Wrap it the same way. I suggest adding more red bean paste for more taste. 
  4. Boil it for 3 to 4 hours. 
  5. Then, eat and enjoy. I usually dip it in sugar when I eat it (so do my parents and grandparents).

核桃虾 Honey Walnut Shrimp

I've been really bad at posting recipes every single week. I'm so sorry. I'm going to make it up now. I'll be posting a lot of recipes for the next month. So, bear with me. I have many things that I have made, but I have no time to post the recipes for them. I have still yet to post the 碱水粽 , which I will sometime soon. My mother told me  the recipe, and I forgot it. I have yet to ask her. We've been really busy that it keeps slipping my mind.  Anyways, today's recipe, it's a Chinese dish. Many people love this Chinese dish, 核桃虾, or Honey Walnut Shrimp. It's so yummy, and yet very expensive when you order them at Chinese restaurants. It's very popular too. However, it would probably be cheaper to make them at home. The only thing is peeling and deveining the shrimp. If you are up to doing that, then it's better to make it yourself. If you are not in the mood of peeling shrimp, then buy this dish. However, I high recommend you make it first and try this recipe before you go off buying something expensive. Haha. I made this for Father's Day (which was a couple weeks ago) and everyone loved it. :)

Ingredients: 
  • 1 lb shrimp
  • walnut halves
  • 3 tbsp mayo
  • 1/2  tbsp honey
  • 1- 1 1/2 tbsp sweetened condensed milk
  • corn starch (around 1/2 cup)
  • 1/2  cup water
  • 1/2  cup sugar
Directions: 
  1. The first thing to do is the peel and devein the shrimp if you haven't yet. Rinse/clean the shrimp and pat dry. 
  2. Heat the water until it boils and then add the sugar. Keep stirring until it becomes a golden color and then add the walnuts. Boil for 2 minutes. Drain them and place them on parchment paper. 
  3. Heat the oil in a wok over high heat.
  4. Coat the shrimp with cornstarch. Then, fry the shrimp until golden brown.
  5. In a bowl, stir together the mayo, honey, and the sweetened condensed milk. Taste it. If it's too sweet, add more mayo. If it isn't sweet enough, add more of the milk. I usually end up adding a little bit more mayo, but it's just personal preference. 
  6. Then, coat the shrimp with the sauce, transfer to a plate, and then add the walnuts. Enjoy. :)

Tuesday, July 5, 2011

Brownies!!

Hey Everyone. Happy 4th of July! Haha..a day late, oh well. xD  I said I would post a recipe for 碱水粽 , but, I will next post, even though I said that last time. It's because I made brownies for a party I went to yesterday. Everyone loves brownies, so I decided to bake some. They're actually pretty good, if I say so myself. People say that it's delicious.  Then again, almost everyone loves brownies, and other baked goods. These brownies are A LOT different from boxed mixes. Those mixes taste a bit artificial to me. I like these ones from scratch better. Less preservatives too. A little bit healthier. This uses oil instead of butter. So, before I get distracted talking about other things as I usually do, here's the recipe for the brownies. 


Ingredients:   
  • 4 eggs
  • 2 cups sugar
  • 3/4 cup vegetable oil
  • 3/4  cup cocoa powder
  • 1 1/2 tsp baking powder
  • 1  1/4 cup flour

Direcetions:


  1. Preheat the oven to 350 F.
  2. In a bowl, mix together the sugar and the eggs. 
  3. Then, mix in the vegetable oil and cocoa powder. 
  4. Then, add the baking powder and flour. Mix well. The batter is very thick.
  5. Put foil on a pan and grease it. Pour the batter in, put it in the preheated oven, and bake for about 30 - 40 min, depending on the size of the pan. The normal cake size pan, it should be around 25 min. Smaller pans, which make it thicker, should be baked a lot longer, around 40 min. 
  6. Test with a toothpick to make sure it's done baking. It should come out clean. Wait for it to cool before cutting it into squares. 

Sunday, July 3, 2011

Banana Muffins! Yummy Recipe. :)


Hey Everyone!! Man, It's been really long since I last posted a recipe. Things came up again, and I was too busy and stressed out about some things. Just to be clear, if any of you guys want me to translate any of these recipes into Spanish or Chinese, tell me. Email me (you can find on my profile or my first posts) or post a comment, and I will be happy to do so. I was going to post the 碱水粽 recipe, but it will the next post. I decided more on an American food, because tomorrow is the 4 of July! Independence Day! Yeah! I'm so happy. and excited. The food is banana muffin. xD This is more of a breakfast food, but hey, it's yummy, and you guys can eat it for a family brunch or something for the 4 of July. Just some ideas of what you can do for the 4 of July weekend.
Well, to tell you the truth, I made these banana muffins today because we had a lot of overripe bananas we needed to get rid of. They were too sweet and ripe for us to eat by themselves. We didn't want to waste the bananas either. My family loves these muffins, especially my little brother. Then again, he loves all baked goods. But, hey, who doesn't? Maybe I'll make some red velvet cake next time. I've made it before, but I will try again some other time when I can. I'm rambling off now. Here's the recipe for banana muffins.

Ingredients

In one bowl, combine and mix:
  • 1 1/2 cups flour
  • 1 tsp baking powder
  • 1 tsp baking soda
  • 1/2 - 1 tsp ground cinnamon (optional)
In another bowl:
  • 1/4 cup vegetable oil (or melted butter)
  • 3/4 cup sugar
  • 1 egg
  • 1-2 tsp vanilla extract
  • 1/4 cup milk
  • 3 ripe bananas
  • 1/2 cup chocolate chips (optional, I usually add it, but I ran out this time)
Directions: 
  1. In one bowl, sift and mix together the flour, baking soda, and baking powder. Also the cinnamon, if you are using it. 
  2. In another bowl, "cream together" the sugar and the oil (or the butter, if you are using that). Then, mix in the egg. 
  3. Peel the bananas, and put them in a plastic ziploc bag. Then, squeeze and mash the bananas. Add it to the sugar mixture. 
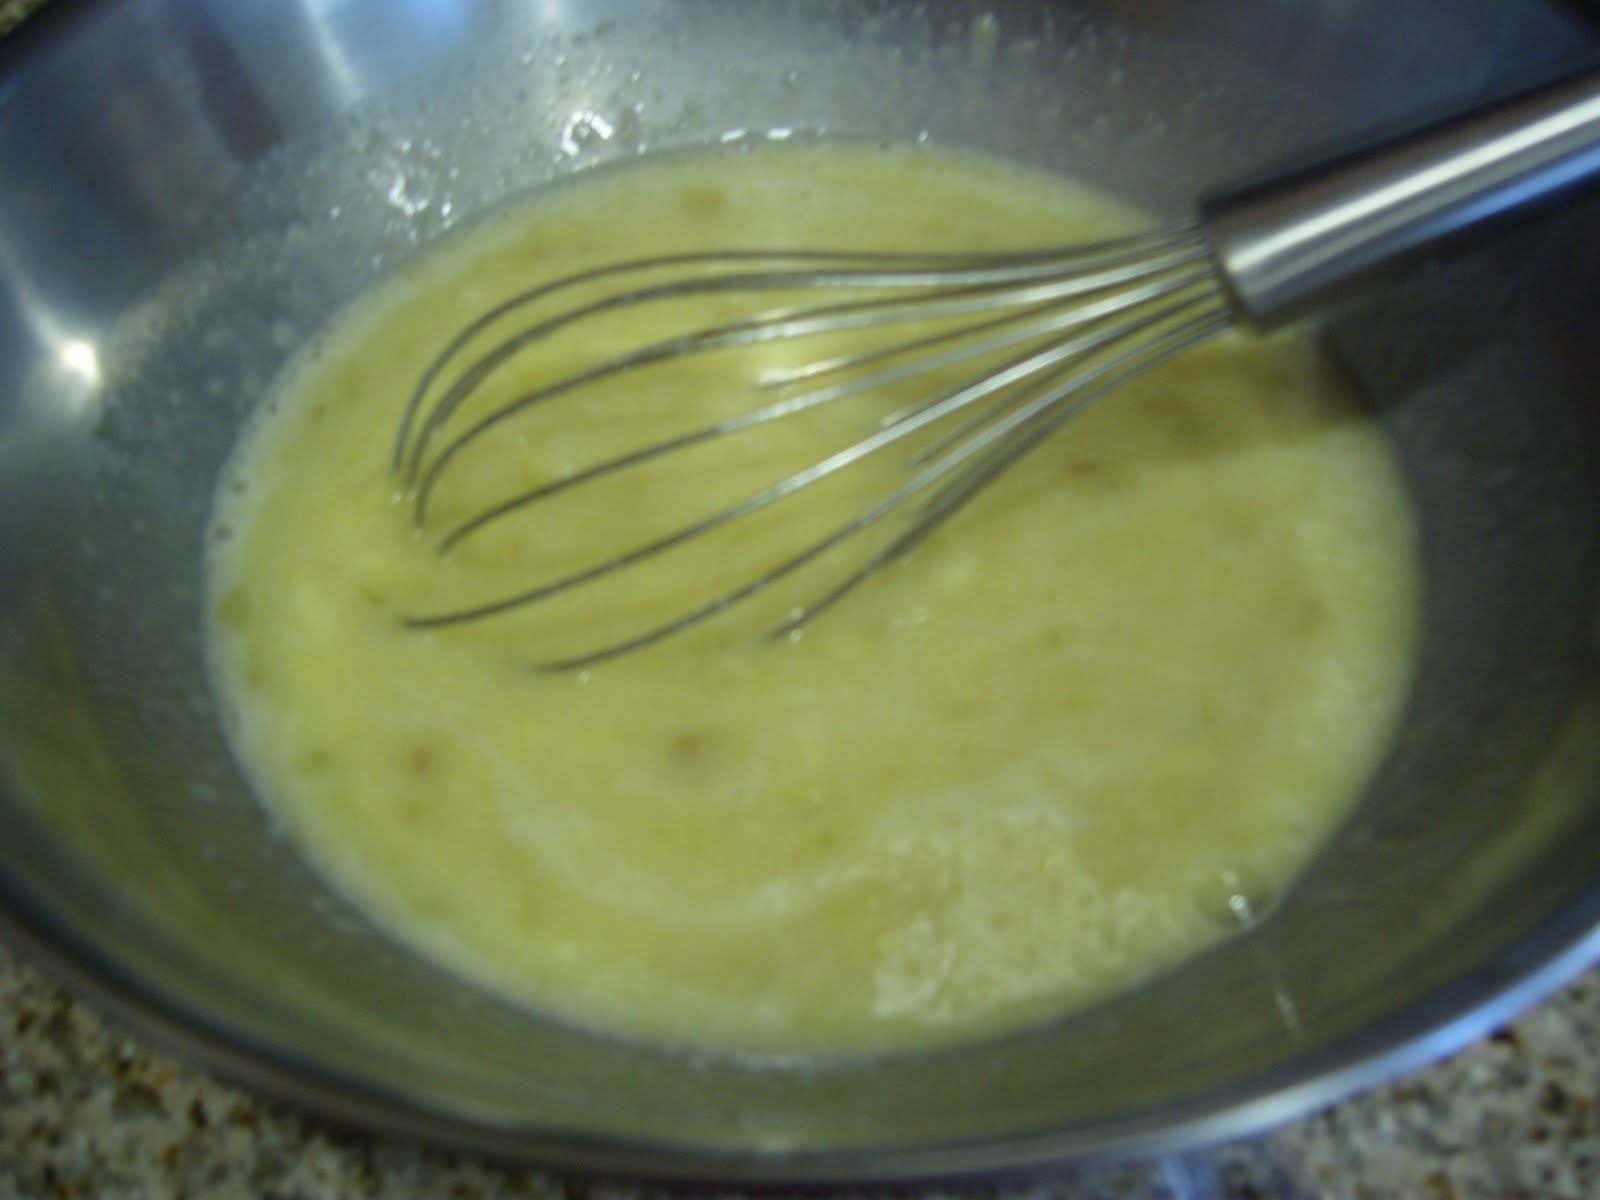
  4. Then, add the vanilla extract and milk to the sugar and banana mixture. Mix well.
  5. Then, combine the sugar mixture with the flour mixture. To do this, slowly pour and mix the flour mixture INTO the sugar and banana mixture. Mix, and combine. Do not over mix it. If wanted, you can add the chocolate chips. If you like adding nuts to your muffins, you can add them at this step.
  6. Preheat the oven to 350 F. 
  7. Place cupcake liners into a muffin pan and fill them 3/4 way full. If you are not using cupcake liners, spray the pan with pam spray so that the muffin won't stick to the pan after it's done baking. 
  8. Bake for 20 - 25 min. After they are done baking, enjoy eating them.


Buen Provecho! Díganme si me quieran que traducir esta receta en español.:)

Sunday, June 5, 2011

粽子 recipe (Rice Dumpling)

My mom made these 粽子。 很好吃。 :)
您们好。 昨天我妈妈做粽子。六月六日是端午节。 就是明天。 It took a long time to make the 粽子。 Almost the whole day. They are delicious though. It's worth the time and effort. These specialties have been made for such a long time. Other names for these are Rice Dumplings and Chinese Tamales. I like saying 粽 because that's how I grew up calling them. Here's a link  to the history of this holiday, and the history of this traditional Chinese food. It's good to pass things on from generation to generation, so it won't be forgotten. My mother learned from her grandmother, and I learn from my mother. So, here's the recipe. Plan ahead before making these, as it takes up the whole day or even longer,because of the preparation of the leaves, 粽叶 too. 

This recipe makes about 50, depending on the size and how much filling you put in. You can add more things in the 粽子if you like. This is what my mom used though.

Ingredients: 

  •  粽
  • 1 bag of Peeled Split Mung Beans, 14 oz (400 gms)
  • chopped green onion
  • 1 bag of dried shrimp
  • 1 1/2 bags of peanut, I used a bag of 特级花生 (both 12 oz, 340 gm) or about 4 1/2 cups
  • 12 cups glutinous rice
  •  dried chestnut
  • salted duck egg yolks 
  • Chinese sausage, cut into slices 
  • cut up pork belly (with the fat)  
  • dried mushroom (optional, and traditionally used in Taiwan. My mom didn't use this)  
  • salt 
  • oil 

Day 1

Buy 粽叶, and boil them in water. After boiling them, soak them in water for at least a day. 

Day 2

Preparations before putting everything together. Each thing should be in it's own bowl, unless stated in the directions. 
  1. After soaking the leaves for a day, wash and rinse them about 2 times, to make sure they're clean. They should not be green in color. 
  2. Soak the chestnuts in water. 
  3. Salt the chopped pork bellies. 
  4. With the mung beans, soak and rinse them. Then, stir fry them with chopped green onion. 
  5. With the dried shrimp, stir fry them with green onion too. 
  6. Make sure the Chinese Sausages are cut up in slices. 
  7. Make sure you have the salted duck egg yolks. 
  8. If using the mushroom, make sure you have that too.
  9. In a huge bowl, wash and rinse the glutinous rice.  Stir in the peanuts. Then, season it with salt. Don't add too much salt. Also add a few tablespoons of oil.
Now, for the wrapping. Here's a video I found on youtube that shows how to wrap them. It's the same way my mom wraps it. I think it's the Cantonese way of wrapping it, because other videos I've watched, it was wrapped differently, and they spoke Mandarin. 
  1. So, basically, you have to take 2 leaves, and shape them the way it has in the video, like a cradle or something. I don't know how to describe it. 
  2. Put a spoonful or two of the rice/peanut mixture in. 
  3. Add one or two slices of the Chinese Sausage.
  4. Add a salted egg yolk. 
  5. Add a piece of the pork.
  6. Add a chestnut or two. 
  7. Add a spoonful of the mung beans. 
  8. If wanted, add mushroom. 
  9. Add another leaf to the side. 
  10. Then, add two spoonfuls or more of the rice/peanut mixture until it coves the filling. 
  11. Fold the leaf to the side so that the side is sealed. Then, fold down the top part. 
  12. Using a string, wrap the string around it, and then tie it. 
  13. Boil water in a huge pot or something to boil things in, and then, once the water is boiling, add the 粽子。 Depending on the size, boil for 3 to 5 hours. The smaller ones usually only take 3 hours. Larger ones take 4 hours or more.  
I hope you guys enjoy these. Good eats to you all. :) 


Saturday, June 4, 2011

饺子 Potsticker/Dumpling Recipe

Hey Everyone! Here's the dumpling/pot sticker recipe that I've said I would eventually post. It's actually from another blog, but I added some other ingredients too. I'll rewrite their recipe,with my additions. My additions will be italicized and bolded.  I say that it tastes better with it. I've tried it both ways. The recipe is in metrics, so, be aware of that. They are so yummy. They also taste so much better than packaged ones, in my opinion. Most packaged things don't taste as good, anyways. Not as many preservatives in the home-made ones either, which is healthier. Sorry, I'm a health freak too.
So, I also have to apologize for not posting for a while. A lot has been going on, and I've been really stressed, and busy too. Some unfortunate things have happened, but life is life. That's just how it is. We have to deal with it. Anyways..enough about that.  Here's the recipe.


Ingredients
  • Minced Pork - 500 grams
  • Minced Shrimp- around 250 grams (or as much as you like. just eye it)
  • Minced Ginger root- 2 tbsp 
  • Soy Sauce- 4 tbsp
  • Cabbage - 500 grams 
  • Green Onion - 150 grams
  • Sesame oil - 6 tbsp
  • Sugar - 2 tbsp
  • Pepper - 1/4 tbsp
  • Salt - 3/4 tbsp (for the minced pork)
  • Salt - 1 tbsp (for cabbage)
  • Ready made dumpling skin - 2 packs of 25 pcs
Directions
  1. Chop the spring onions. Use the foodprocessor to shred the cabbage. Mix cabbage with 1 tablespoon salt and let it sit for 10 minutes. Squeeze the excess water out.  
  2. Mix the ground pork and minced shrimp with the sesame oil, soy sauce,  sugar and 3/4 tbsp salt. Mix the pork with the cabbage, ginger root and spring onions.  
  3. Use 1 tablespoon of filling per dumpling skin. Follow the instructions of the picture above (this link leads to the blog with the pictures). Only plead one side of the dumpling. Use water to pinch and seal the edges.
  4. Heat 2 tablespoon of oil in the pan. Fry the dumplings till golden brown (about 2 minutes). Add 100ml water to the pan, move the dumplings around to prevent sticking, and cover the pan. Cook for 5 minutes or until the water has almost evaporated. Serve with vinegar, soy sauce or chilli sauce.
Related Posts Plugin for WordPress, Blogger...